How to add a new SSH key to a server (even if you can't access it)

So the other day I was trying to login to a server on Digital Ocean to make a few changes and then it dawned on me that the only active SSH key assigned to it was from my old Macbook which has since been wiped!
So basically i’ve got a server with users setup but no way to access them via SSH as password authentication is turned off by default.
Luckily, Digital Ocean provide a way to access the server via a web console which allowed me to provide a new SSH public key.
Here’s how I did it.
Access the Digital Ocean ‘recovery console’ #
The first step was obviously to login to the Digital Ocean account that has the server and access the recovery console.
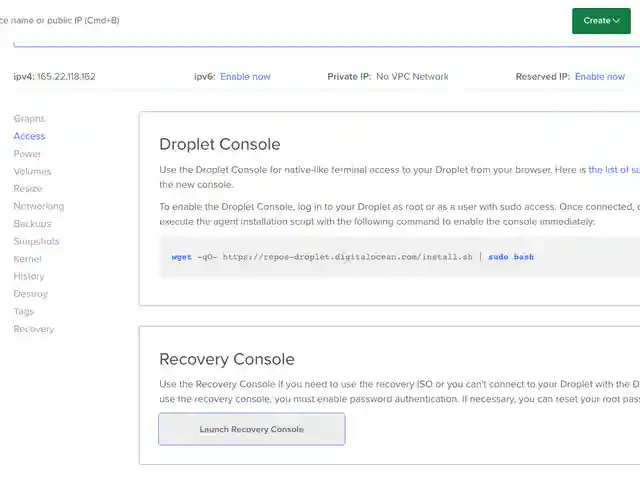
Once I clicked the Launch Recovery Console button I got a new tab/window in your browser with a terminal to access the droplet.
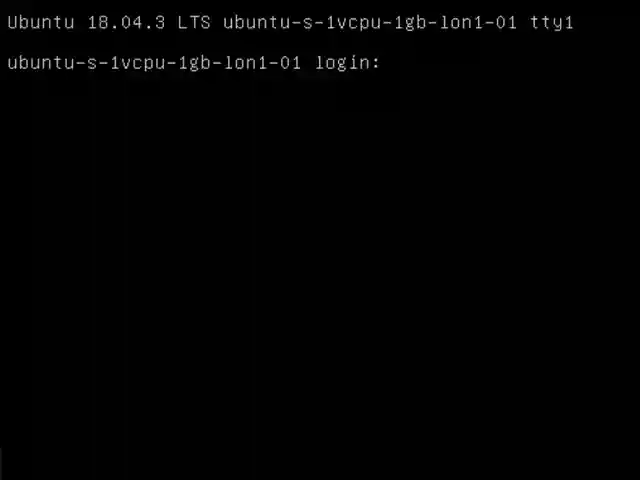
I logged in here with the root user and password which luckily I could remember (if you don’t know the root password, you can reset this in the Digital Ocean management dashboard).
Find the user #
Once I gained access to the server in the recovery console I found the user I wanted to setup SSH access for (should probably do the root user too) and navigated to their SSH folder.
cd /home/james/.ssh
The authorized_keys file should hold all the SSH public keys that allow a user to connect with their local private key so I just needed to get my new public key into this file which turned out a bit trickier than expected on my Macbook.
Why are Macbooks weird? #
I got a copy of my public key from my Macbok simply by logging out the contents of the id_rsa.pub in my SSH folder:
cat ~/.ssh/id_rsa.pub
But when I tried to copy this directly to the Digital Ocean Recovery Console, what I was seeing wasn’t matching up with the copied key!
I can’t remember where I found the detail but apparently, Macs have some weird way of encoding the text when pasted into a terminal browser like this.
I don’t know why, it just doesn’t work 😦
So I used a 3rd party service to temporarily upload my public key so it could be retrieved easily on the server.
Uploading to bashupload #
I did this by creating a temporary text file and passing this to the bashupload service:
cat ~/.ssh/id_rsa.pub > temppub.txt
curl bashupload.com -T temppub.txt
This will give you a URL that you can then retrieve the file with so I went back to the Digital Ocean Recovery Console and retrieved the file:
wget http://bashupload.com/yUNW1/temppub.txt
This had to be typed out as you can’t copy and paste (easily)!
Finally, it was just a case of transferring the contents of the retrieved file (the new public key) and putting this into the authorized_keys file for the desired user.
cat temppub.txt > authorized_keys
Job done #
With the new public key in place, I could disconnect from the Digital Ocean Recovery Console and login in using SSH with the user I had reset the publick key for.
Thanks for reading.
Still stuck? Check out the video for more detail!